


 Title Index
 Recently Changed
 Page Hierarchy
 Incomplete
 Tags
Tags


The steps below outline the actual upgrade process.
** This is a new installer, so please uninstall any version prior to 3.6.1 of DiaMed from the workstation before starting.
** Please make sure all DiaMed users at your site are logged out of the system before beginning this update. Once you update a DiaMed station, users of that station may return to using the system.
1. Download the latest version of DiaMed from the client download page.
2. Run the setup on each workstation that is to be upgraded using administrator credentials.
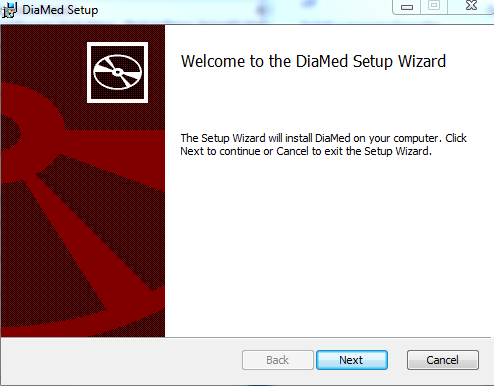
3. Then choose Next to step through the Welcome screen.
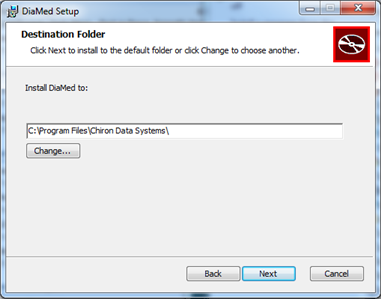
4. Click Next to leave it installed at the default location.
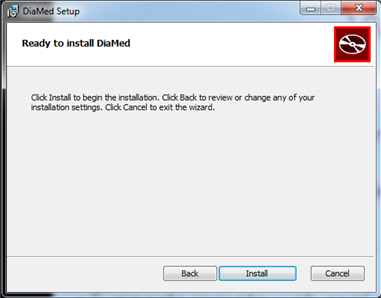
5. Click Next to begin the upgrade.
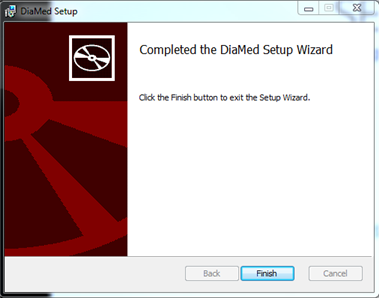
6. The dialog below will be displayed during the upgrade.

7. Click Next to finish the install.
8. Go to Start - All Programs - Chiron Data Systems and click DiaMed. If you can see the an education center name in the Site textbox, the upgrade installer completed without errors.
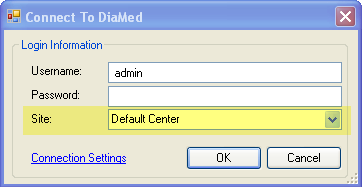
* If Site comes up blank for any reason, see the article below for assistance with
Configuring the Database Connection
9. Enter a valid DiaMed username and password into the "Connect to DiaMed" dialog box and press "OK".

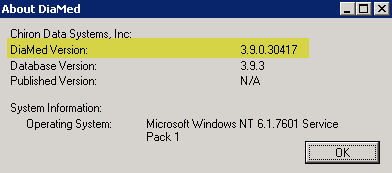
10. Inside DiaMed select "Help->About DiaMed" and confirm that the DiaMed version listed matches the version you obtained from the client download page.
** If the installation notifies you to install the .Net Framework 3.5, you can download it from Microsoft here.