


 Title Index
 Recently Changed
 Page Hierarchy
 Incomplete
 Tags
Tags


Also
*** If a default website is currently running on port 80 or 443, please stop the site before beginning the install.
Pre-Installation Steps
- Review the list of the dependencies can be found here.
- Confirm all required Roles and Services are installed.
-
. Install .Net 4.0
http://www.microsoft.com/en-us/download/details.aspx?id=17851 -
Install the appropriate OS Servicepacks
a. For Windows 2008
i. Windows Server 2008 Service Pack 2
ii. Kb980368
iii. Kb2468871
iv. Microsoft Reporting Services control 2010 (download)
b. For Windows 2008 R2
i. Windows Server 2008 R2 Service Pack 1
ii. Microsoft Reporting Services control 2010 (download)
b. For Windows 2012
i. Microsoft Reporting Services control 2010 (download)
DiaWEB Installation
- Download DiaWEB Setup
-
Right click on the setup file and select "Run as Administrator" and you should see the dialog below. Click Next to continue
-
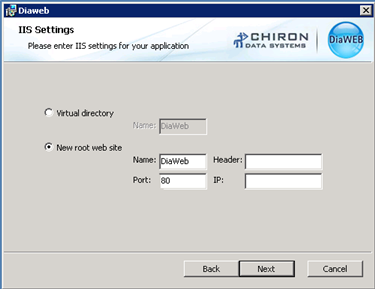
At this point, you will be prompted to select the type of installation and add the site specific data. Click Next when this information has been entered.
-
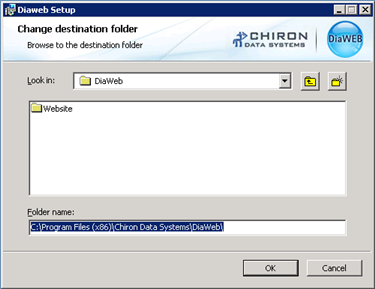
Select your desired installation directory and click OK to continue.
-
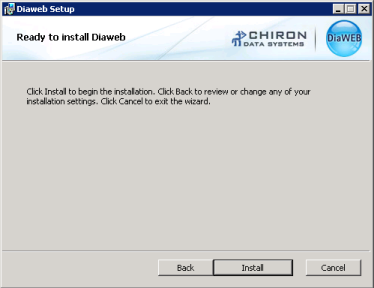
Then click Install to continue.
-
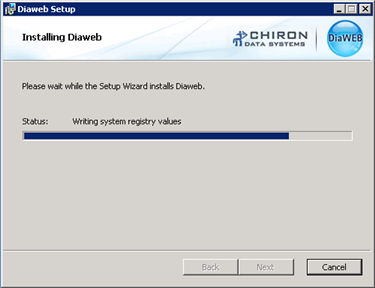
The installer will then install the application with your selected configuration.
-
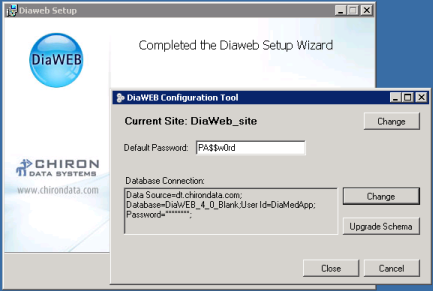
When the site has installation has been completed, DiaWEB will display a configuration tool. This tool is used for configuring the default password, setting database server connection settings, and running the schema upgrade tool.
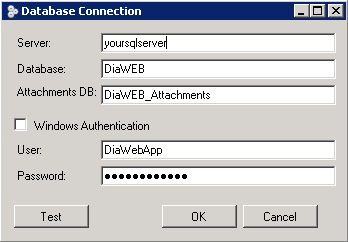
To complete this process, click the Change Button to set the database server connection settings.

-
Add the required database connection information and then click Test to validate and OK to save. If the database catalog names have been left as the default value, the only field name that you should need to change is Server. Click OK when finished.
-
Click Upgrade Schema to configure the database structure and when it has completed click Close. DiaWEB should now be ready to run.
-
Initial Login for a new DiaWEB installation will be
User: Admin
Password: admin